Android Studio Windows Install for PCs
This tutorial covers installing Google's Android Studio on a Microsoft Windows based PC. It provides advice beyond Google's installation documentation. For additional background information see the article Setup Android Development Environment in Windows.

Note
Android Studio requires a recent Intel i5, i7, Ryzen or Xeon PC for the best user experience. 64-bit Windows, a minimum if 6GB free memory, and several gigabytes of free disk space is recommended.
Studio used to require the Java Development Kit (JDK) to be installed, however, it now comes with OpenJDK and, therefore, the separate installation of Java is no longer required.
Installing Android Studio for Android App Development
The first install of Android Studio can take some time with lots of downloading and file extracting. The Android Studio installer will need to be downloaded. It can then be executed to get Studio installed ready for running. When Studio runs it may download and extract updates and other packages required to build an Android app. Then you may need to install device drivers for any Android devices you want to run apps on when developing, alternatively use an Android Virtual Device (AVD). Once Android Studio is installed the Android SDK Manager is used to add extra packages to support a wide range of Android development scenarios.
Install the Android Studio IDE
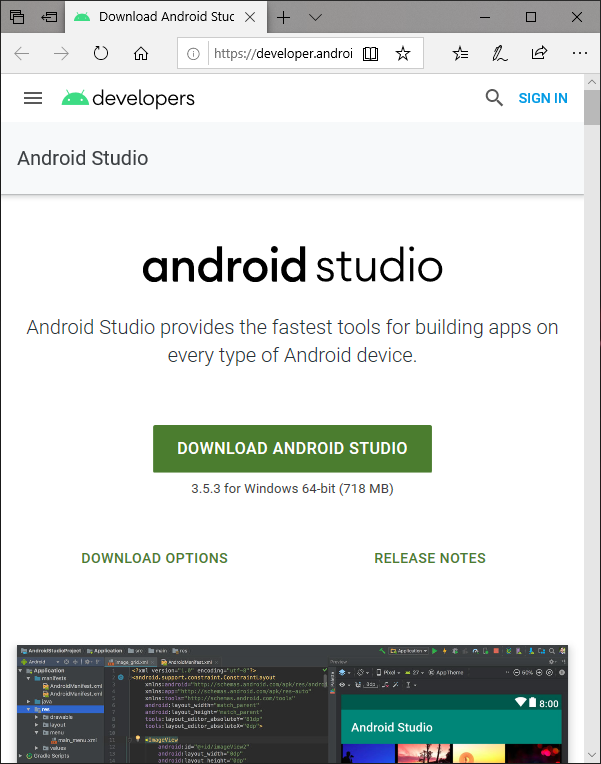
The link to the Android Studio installer download is on the Android Developers web site. See the Android Studio download page. The Android Studio install file is very large, it varies by release and can be up to 1GB, a broadband Internet connection is a must. Android Studio will also download and configure additional files that can be GBs in size, the whole process can take some time.
On the Studio download page click the large Download Android Studio button (or the Download Options link to download an installer for a different operating system). Terms and conditions for Studio appear, click the check box agreeing to those T&Cs. Another large Download Android Studio For Windows button becomes enabled. Click the button to download the Android Studio install EXE. The EXE is named android-studio-ide-x.x-windows.exe, where x.x is the current version number of Studio's internal build. (This may not match Android Studio's displayed version number, e.g. Android Studio 3.5.3 had a build number of 191.6010548).
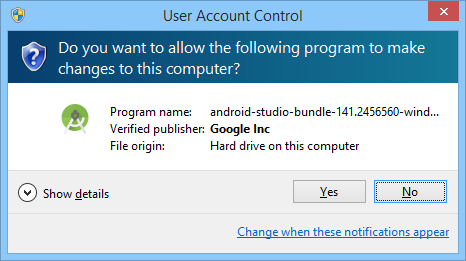
When the Studio install EXE has been downloaded, run the Studio installer. If you experience any errors see the Possible Problems section at the end of the article. The installer runs under the adminstrator account on Windows, if signed in as a standard user you will need to accept a User Account Control (UAC) warning message, and enter the PC's machine admin password. Only accept the UAC message if the EXE came from the Android Developers web site. Downloads from other web sites may be harmful to your PC. This will also be required when the Intel Hardware Acceleration Execution Manager (HAXM) is installed during the setup process. HAXM is used for AVDs.
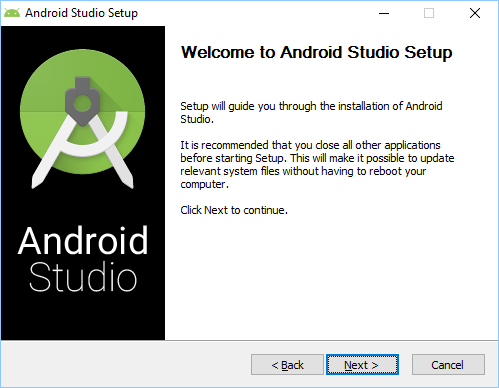
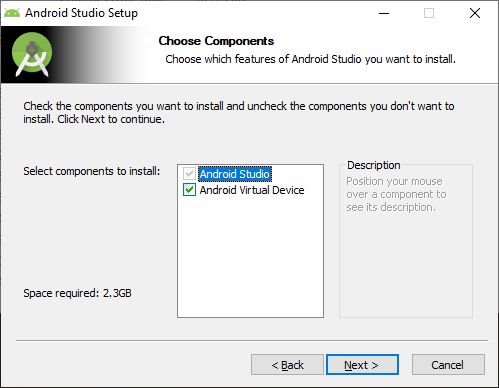
When the Android Studio Setup dialog appears select the Next button on the various set up screens.
The installer will setup the base Android Studio IDE. Once the base Studio is installed, the first run of Studio will configure other components, including the Android Software Development Kit (SDK) and an Android emulator (a.k.a/ Android Virtual Device or AVD).
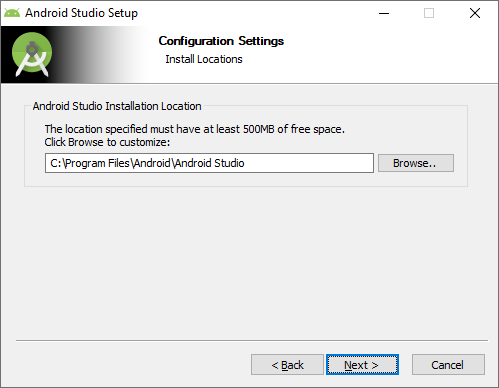
Click next, then the Install Locations are shown. Take the 500MB free space requirement as being optimistic, once the whole process has finished, a much bigger amount of space with have been used, over 2GB.
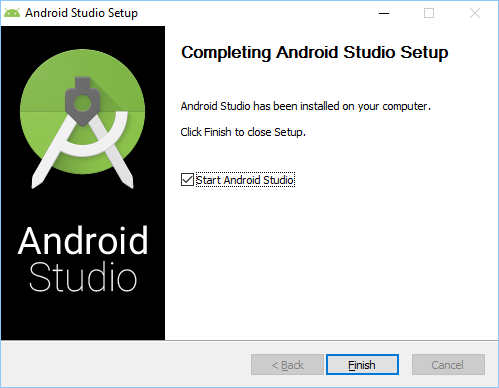
Once completed click next and then the finish button closes the installer and optionally runs Studio.
When Android Studio starts some more configuration takes place. This starts with importing existing Studio settings. Obviously, for a first time install, it'll be Do not import settings. Then choose to send or not send Studio usage data to Google. The Android Studio Setup Wizard then runs. Use the Next button to go through the screens.
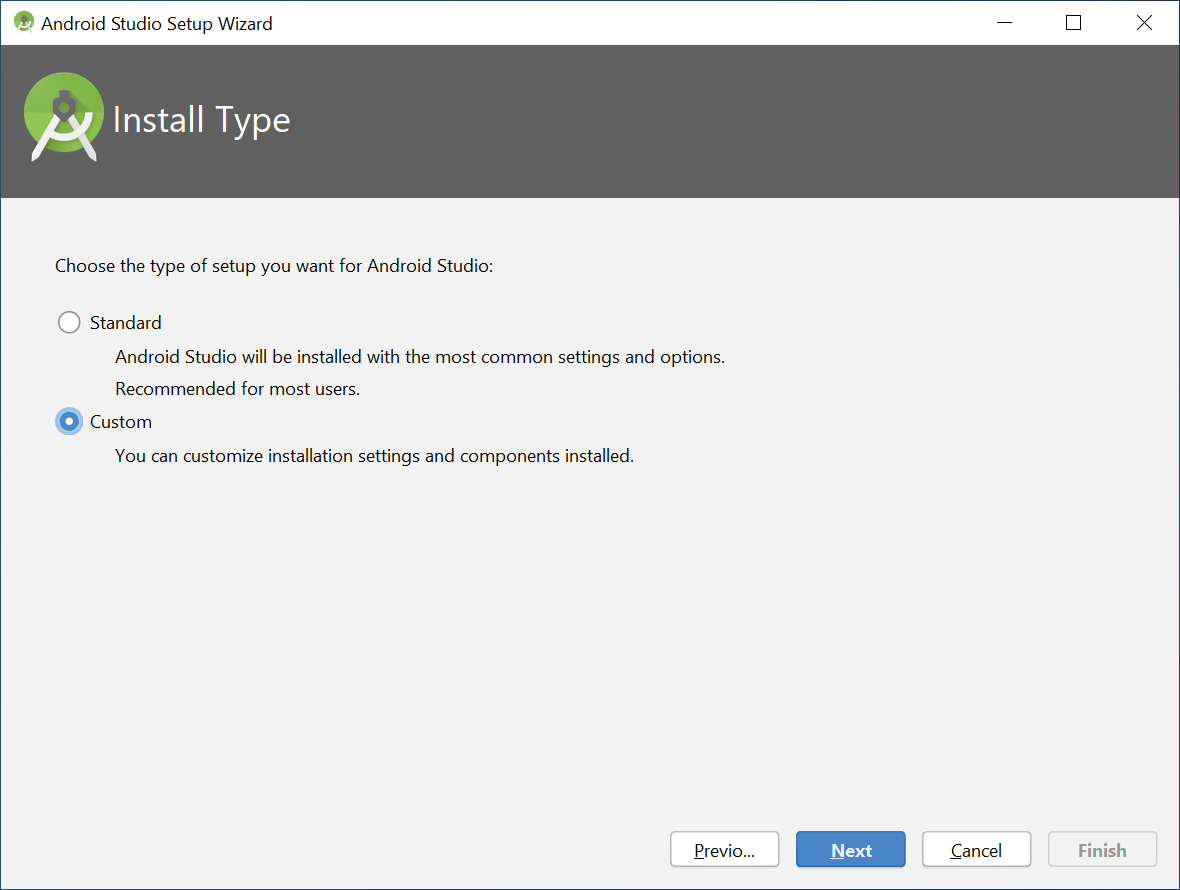
One part of the Studio setup process is to install the Android Software Development Kit (SDK). On Windows the Android SDK default install location is buried under your Users folder. Not good for gigabytes of files. Change the install location, e.g. to C:\Android. To do this change the Install Type to custom.
To install the SDK to a different directory, or onto a disk with more space, change the install locations on the SDK Components Setup page, as this example shows:
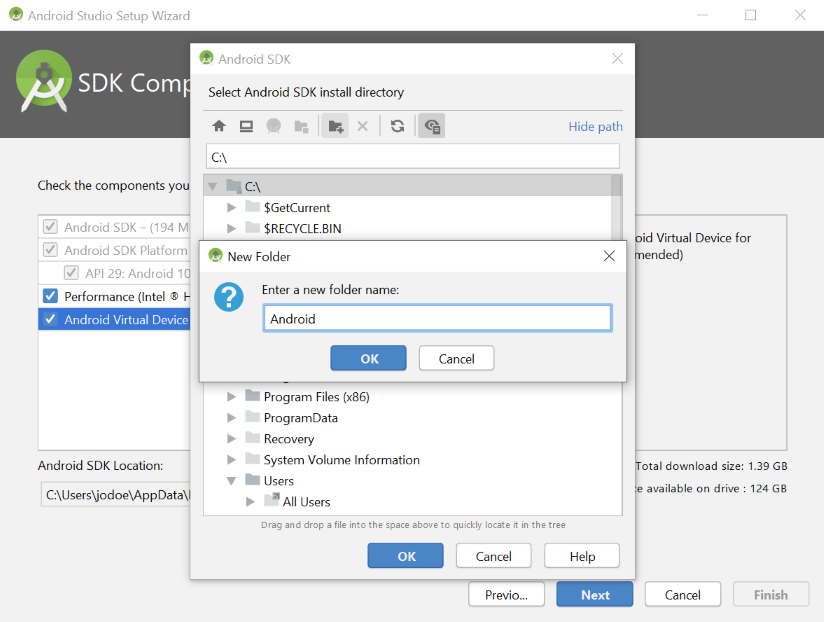
The HAXM tool, for fast Android emulation when running AVDs, is installed by default. The HAXM Emulator Settings can be left at the default settings as they can be changed later if required.
Once Finish is selected in the Studio Setup Wizard, the setup progress bar is displayed as Studio downloads additional packages. The setup can take some time to download, extract and install the additional components. Use the Show Details button for more information.
You may be prompted to allow a command line instruction to run (related to the configuration of HAXM). Allow the command to run. When the download and extraction of the packages has completed, click the Finish button. After a short delay the Studio Welcome screen will be shown.
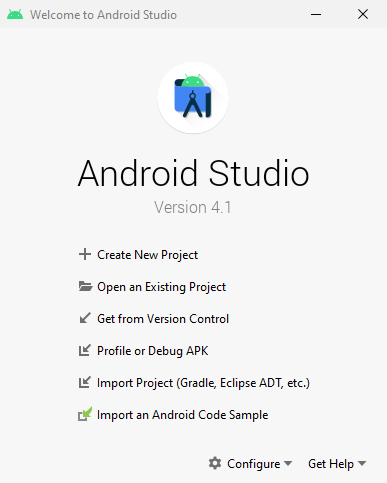
Android Studio Ready To Use
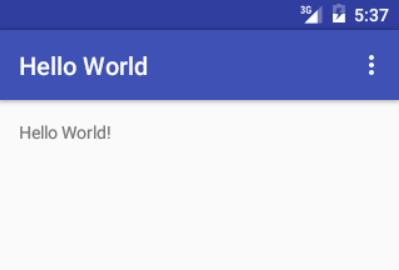
To check every thing is working create a simple project, see Your First Android Java Program - Hello, World!.
When you create the first project you may see a Windows Security Alert for Android Studio and Java (OpenJDK), to allow access through the firewall.
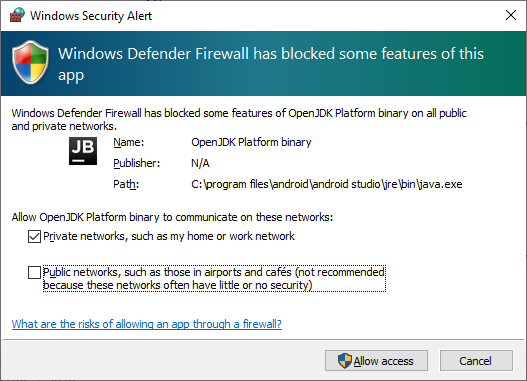
Select the Allow Access (or Unblock) button for the alerts. You can go into the Windows Defender Firewall settings via Control Panel to check them if required.
Android apps can be run and tested on physical devices, configured for USB debugging. Alternatively, use an Android Virtual Device (AVD). An AVD is normally installed during Studio setup, or the AVD Manager can be used to set up different types of AVDs. Use the Tools menu and select Android. Select AVD Manager and use the Create Virtual Device button to create an AVD. See Set Up an Android Virtual Device for App Testing.
![]()
To return Studio to the dialog displaying Welcome to Android Studio, close the open app project.
Enjoy you Android App development.
Android Studio Updates
When Studio runs it will perform a check for updates. There will be regular updates for the Android SDK.
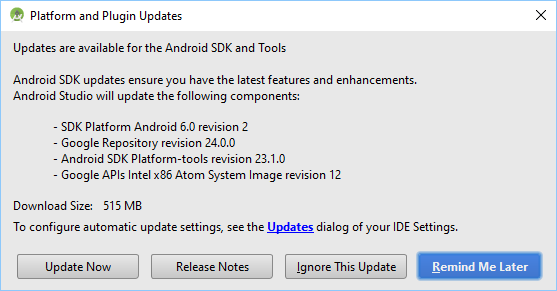
When a project is already open Check for Update can be selected from the Help menu in Studio (or the Configure menu on the welcome screen).
Android SDK Management Options
The status of the Android SDK can be viewed using the SDK Manager icon on the toolbar or via the Tools then SDK Manager menu.

The SDK Manager accesses additional packages and updates for the Android SDK.
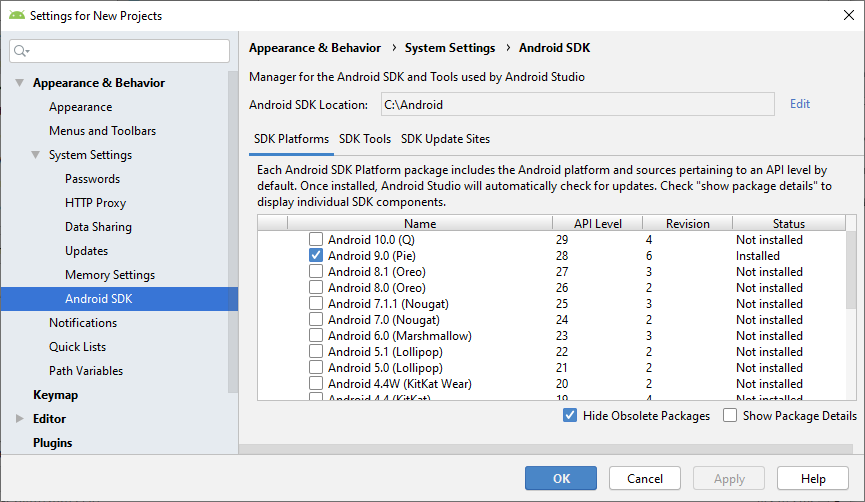
For more information see the article Keeping the Android SDK Updated.
See Also
- The Android Studio Overview on the Android Developer Website.
- See the Tek Eye Android Studio example projects to learn Android app programming.
- For a full list of the articles on Tek Eye see the full site Index
Alternative Android App Development Options
If you find it difficult to developing in Java, with the Google recommended IDEs for App development, there are other alternatives. See the article List of IDEs for Android App Development. It lists development packages and languages from other organizations, some free and some paid for, some will also require the Android SDK.
Author:Daniel S. Fowler Published: Updated:


