Android Studio Windows Zip Setup
For writing Android applications (apps) you need the right software. Google provides free access to their preferred app development software for use in Microsoft Windows, on Apple Macs and for Linux PCs. It is called Android Studio, download Studio from the Android Developer website.

What is Android Studio?
An app is a computer program and like all programs it needs designing, writing, compiling, testing and debugging. This is all done in an Integrated Development Environment (IDE). There are many IDEs from which to choose. This article deals with the IDE provided by Google, called Android Studio. The easiest way to setup Android Studio on Windows is to download the Android Studio Windows installer. Alternatively Google provides a zip file that can be used for setting up Studio. Either of these downloads are up to a gigabyte (GB) in size, and install or expand up to 2GB. Android Studio then downloads another 2GBs of files to complete the setup! Therefore, make sure you have a decent Internet connection, and plenty of disk space. Read on for information on installing and running Android Studio using the zip file.
Take Note
Developing Android apps on a PC is resource heavy. The PC will struggle if it does not have a recent processor, i3 or better, and enough memory, 4 GB or better. Experience has shown that a recent 64-bit processor is required, using a i5, i7, Ryzen or i9 processor is best, and 6 GB should be regarded as the minimum memory to have free, the more memory the better.
In earlier versions of Android Studio the Java Development Kit (JDK) needed to be installed before installing Studio. However, Studio now uses the OpenJDK for its Java requirements. Studio comes with the OpenJDK.
Start Writing Google Apps on Windows
Apps are written in a computer language. The widely used Java used to be the big language for Android, and is still very important for developing Android apps. There are other languages available for writing apps, and Google supports C and C++ with the Native Development Kit (NDK). Google also pushes Kotlin as a language for app development. The NDK and Kotlin also use the Android Studio IDE.
Download the Android Studio Zip File
On the Studio download page at the Android Developer website, click on the Download Options link, or scroll down to the Android Studio downloads section. There is a link provided for both the 64-bit and 32-bit versions of Studio (32-bit is not recommended). To use the 64-bit version you need to be running a 64-bit version of Windows. Download the required Android Studio IDE zip file (accepting the terms and conditions).
Copy the Android Studio Zip File Contents
Once the Studio zip file download is complete use Windows File Explorer, copy the android-studio folder inside the zip file to the required location. As Android Studio is often updated it is probably better to copy it somewhere other than your Users folder, don't use a OneDrive folder (it will consume a large amount of OneDrive space). It id recommended to copy the android-studio folder to the root of a drive with lots of free space.
Run studio64.exe
If running Windows as a standard user, then for the first run it is recommended to run Studio as an administrator. Use the context menu on the exe and select Run as administrator, you will need to enter the Windows machine administrator password. In the bin directory under android-studio are the Studio executables. For a 64-bit installation studio64.exe is used (studio.exe for 32-bit). It is worth setting up a shortcut to the Studio exe on the Desktop or the Taskbar.
Ignore the Import Android Studio Settings From... dialog, as it will be a fresh install (leave it set to Do not import settings). Set the Data Sharing dialog to Don't send if you don't want Studio using unneccessary Internet bandwidth.
The first run will complete the main setup of Studio. Whenever Studio is started it may install additional updates.
Completing the Setup
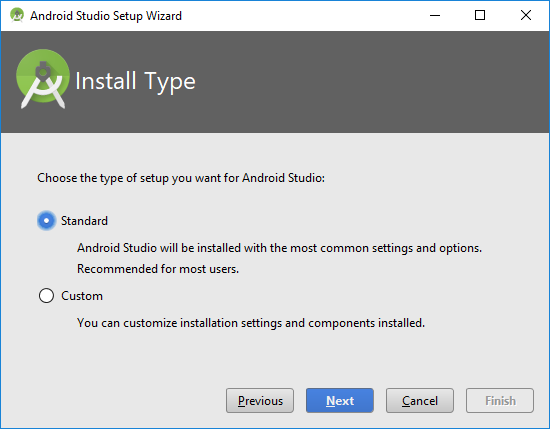
When running Studio, it can take a good few seconds to get going, and a setup wizard will be shown. Go through the wizard with the Next button. If you want to change the default options select Custom.
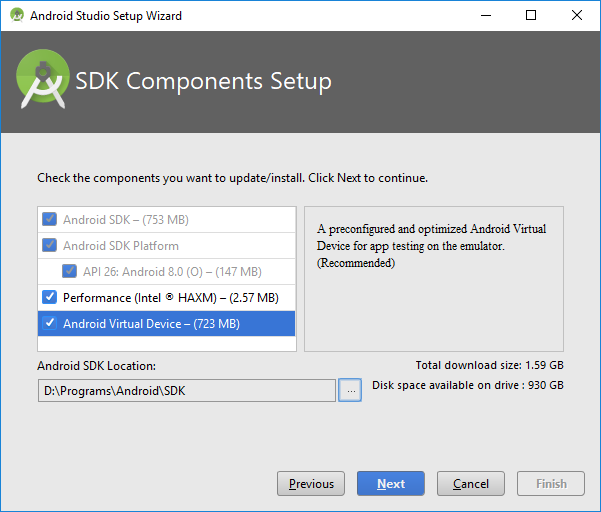
One tip is to change the location of the Android SDK in the setup wizard. By default it is buried under the AppData folder. An easier to find location is recommended, on a disk with lots of free space, below it has been set to D:\Programs\Android\SDK.
For testing and debugging apps a real device or virtual device can be used. The wizard allows a virtual Android device to be installed. The Intel HAXM utility is useful (probably a must) for improved performance when running an Android Virtual Device (AVD).
Problems installing the Intel HAXM utility
If the setup does not complete the HAXM utility may not have installed. You may need to use Task Manager (via Ctrl-Alt-Del or typing Task Manager in Windows search) to stop Studio. Then go to the Android SDK location and find intelhaxm-android.exe under the Intel directory in the extras folder. Run the exe, you may be required to enter the Windows administrator password.
Running Your First App
Google provides some online example projects that can be viewed from the welcome screen by selecting Import an Android code sample. (Tip: to get back to the start screen close all open Android Studio projects.) This website also has a large selection of Android Example Projects available. Other articles on this website act as a mini Android App Development Course
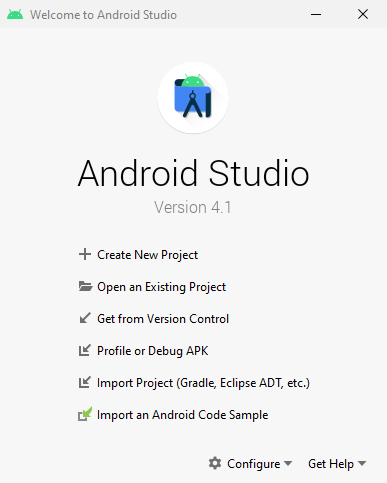
Test out Android Studio by starting a new project, maybe a simple Hello World app. It can take some for Studio to open for the first time. So be patient. Likewise for the first app to compile. When the Studio IDE loads use the status bar at the bottom to view progress messages.
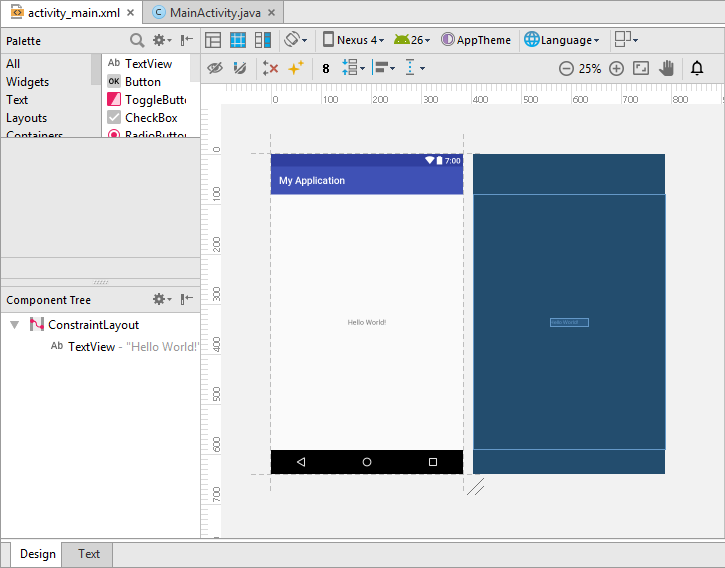
Use the play button on the tool bar to run the app code.

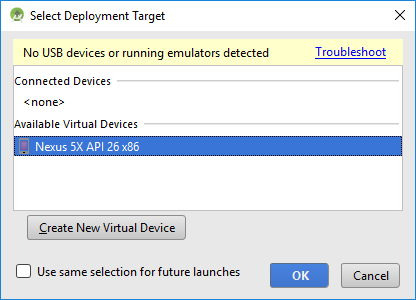
Select the deployment target. If an Android device is not install select the Create New Virtual Device option to create an AVD. Download one of the existing x86 images for best performance on a x86 based Windows machine. When the AVD loads it may show a black screen. If so changing the AVD options for the OpenGL settings and powering the AVD off and on again may fix it.
To test on a physical Android device install the manufacturers driver. With the driver installed use a USB cable to connect the device to your PC. You will need to enable USB debugging on the device.
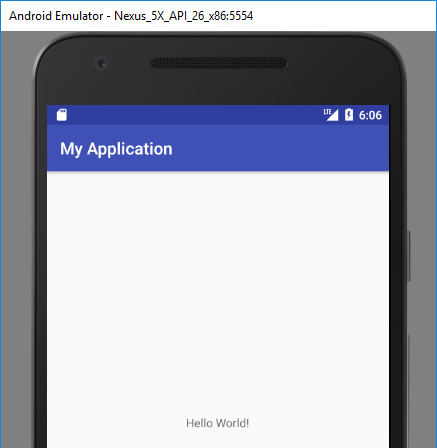
Once the AVD starts the app will be loaded onto it, and the app will run.
Downloading More Packages and Updates
Use the SDK Manager from the tool bar to keep the Android SDK up to date and download additional libraries and packages.

See Also
- View the Tek Eye full Index for other articles.
Author:Daniel S. Fowler Published: Updated:


