Visual Studio Code Quick Windows Install Using Zip File
When programming apps for Microsoft Windows there is plenty of choice in computer languages and the tools for code editing, compiling, and debugging within Integrated Development Environments (IDEs). Microsoft's preferred IDE is Visual Studio, and it has been for over 25 years. However, over the last few years, Microsoft has provided the open source code editor called Visual Studio Code. This is a popular cross-platform code editor for many computer languages and environments.
Visual Studio code is easy to install. It does not have as many in-depth features as the original Visual Studio IDE for coding Windows apps, but it supports many add-ons to extend its functionality. This makes it a great code editor. This article covers installing Visual Studio Code by just downloading the zip file and extracting it to a directory on the PC. Especially useful if you use an administrator-controlled PC.
Grab the Visual Studio Code Zip File
- Go to the Visual Studio Code Home Page and click on the other platforms link. We are not after the default Windows download, we are after the zip file installation.
- Under the Windows list next to .zip click x64 (for 64-bit Intel or AMD-based systems) or Arm64 (for 64-bit Arm processor based systems). To see your system type in Windows enter About in the search box and select About your PC. See System type. Alternatively, run the System Information App and look for the System Type line (e.g., set to x64-based PC for x64).
Create a Directory for Visual Studio Code
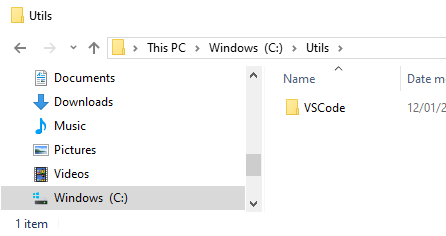
Using Windows File Explorer create a directory to hold VS Code. I usually create a sub-directory of the root of a hard disk that has lots of free space.
Copy all the Files from the Zip Download to the Directory
Go into the zip file and copy all the contents (all the files and directories) to the newly created directory on the PC. (Tip: Use Ctrl-A to select everything in the zip file.)
Create a Shortcut to VS Code
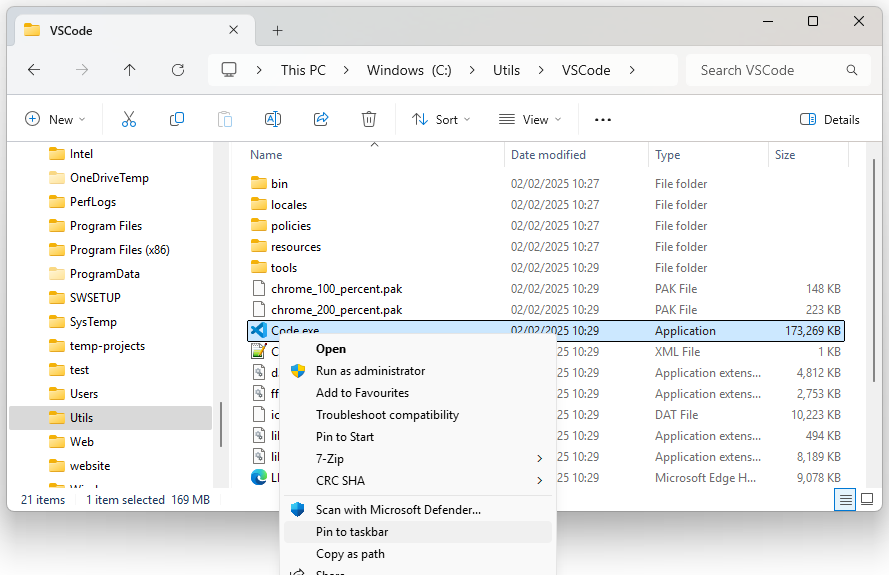
Once all the VS Code files are in the new directory, the Code.exe program can be run. It is useful to create a shortcut to VS Code for easy access, e.g. on the desktop, or pin it to the Windows taskbar (via Show more options on the context menu, normally accessed via a right-click).
Create a Folder for your Projects
Add a work area for your code. Create a folder to keep your code projects separate from other work. The folder for projects can be added as a workspace in VS Code.
Run VS Code
VS Code is ready to run. Start it and if required add the folder to use as a workspace for your coding (drag and drop it into the Explorer view).
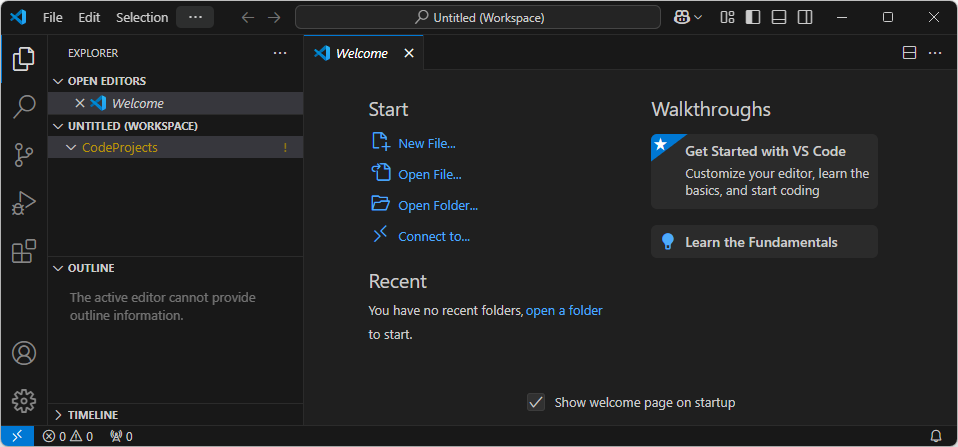
See the VS Code documentation and introductory videos for more getting started information. Note, unlike traditional IDEs, VS Code is very light and most features are added via extensions.
Install Support for a Language
You can make it easy to use a specific computer language from within VS Code. For example, for C# support why not use .NET with VS Code? Start by installing .NET. Then within VS Studio open the extensions marketplace (click on the Extensions icon on the left-hand side). Search for the required language, e.g., C#, and click Install.
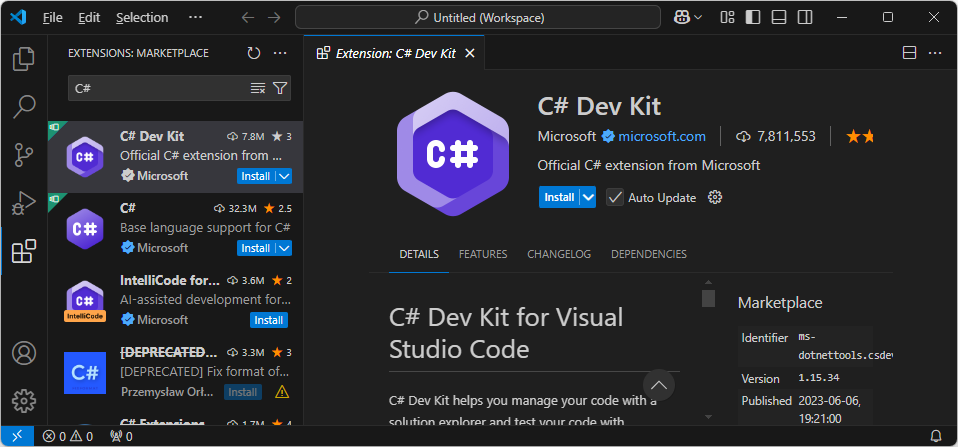
When a folder with files for the installed language is opened, it is easier to edit, run, and, if supported, debug an app project.
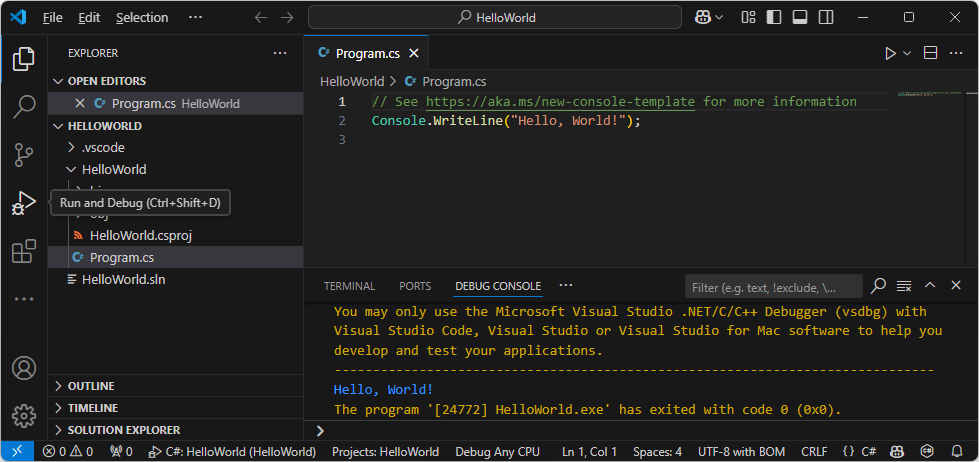
VS Code supports all the popular computer languages: C, C++, C#, Java, PHP, Python, Kotlin, Rust, and many, many more.
See Also
- See the VS Code Docs for a user guide and the introductory videos.
- .NET from Microsoft
- What is .NET? The Microsoft Programming Framework
- For a full list of the articles on Tek Eye see the website's index.
Author:Daniel S. Fowler Published: Updated:


