Developing PHP on Windows with Eclipse PDT
This article covers installing the Eclipse PDT tools to allow for PHP development on Windows. What is Eclipse PDT? PDT stands for PHP Development Tools. Eclipse PDT is a version of the Eclipse Integrated Development Enivironment (IDE) for PHP use. (An IDE is an all in one program for writing, running and debugging code). The Eclipse PDT is used to develop PHP applications for deployment on web servers. (PHP can be used to write scripts on normal PCs, though rarely, as PHP is popular for web based applications).

In this article:
- What is PHP?
- Determine if your version of Windows is 32-bit or 64-bit
- Download and install Java, which is needed to run the Eclipse IDE
- Install PHP for Windows using Microsoft's Web Platform Installer
- Download and install the Eclipse PDT
- Test writing and running PHP code on Windows
Notes:
- Setting up a PHP development environment using the Eclipse PDT requires a lot of software downloading, therefore a good Internet connection is required.
- You will be installing software on Windows, therefore you need to have Administrator rights to the Windows machine.
What is PHP?
PHP is a commonly used computer language used for developing websites and web based applications. It has been around since the early days of the World Wide Web when PHP originally stood for Personal Home Page, see PHP on Wikipedia for the history. PHP now stands for PHP: Hypertext Preprocessor. Since web pages are made up of hypertext, indeed HTML stands for HyperText Markup Language, the PHP program will processor PHP code to produce HTML and send it to the users web browser.
How to Check if 32 or 64 Bit Windows is on Your PC
When you download software you sometimes need to chose a package for either 32-bit or 64-bit version of Windows. If you are unsure whether you are running 32-bit or 64-bit Windows use the System option in Windows to find the System type:
- Windows 10 - Select Settings (the gear icon) then System. Select About and read the System type line.
- Windows 8.1 - System type can be accessed via PC info from the settings icon on the charm bar.
- Other versions of Windows - Via System and Security from Control Panel, under Basic Information.
Download and Install Java to Run Eclipse
The Eclipse IDE is built with Java. To install Java download the latest Java version from the Java SE Downloads page. You may need to add the path to the Java bin directory using the Environment Variables option in System Properties.
For full details see the Tek Eye article Installing Java on Windows (32-Bit or 64 Bit)
Install PHP for Windows
The easiest way to install PHP onto a Windows computer is use Microsoft's WebPI, for Web Platform Installer. Once WebPI is installed run the WebPI app to install PHP and the Windows IIS WebServer. For full details see the Tek Eye article Install PHP on Windows with Web Platform Installer.
To check that the IIS Webserver installed correctly enter localhost in the browser's address bar.
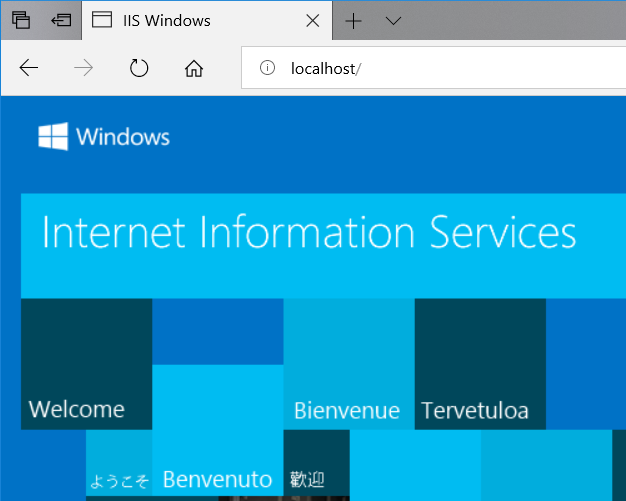
A PHP Development Environment on Windows
To use Eclipse PDT on Windows grab the installer from the PDT home page.
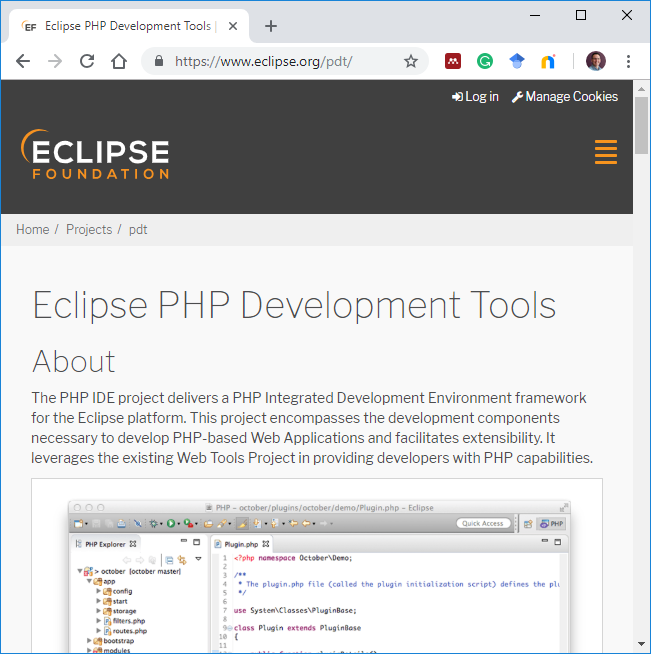
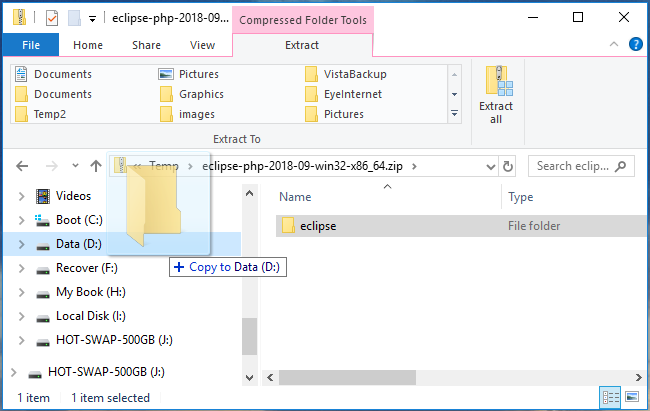
Scroll down to the Download section and chose the button for you Operating System (OS). Click the Download button when shown and save the zip file to your system. Copy the folder in the zip download to your computer's disk, e.g. to C:\ or any suitable location.
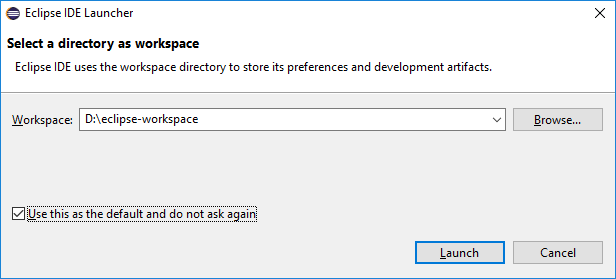
In the Eclipse folder run eclipse.exe. For future ease of access use the context menu (usually right-click) to create a shortcut to eclipse.exe or pin it to the Taskbar. Eclipse will ask for the workspace to be set, this is the default place to create new projects. When prompted with the Windows Security Alert also provide Eclipse with access through the Windows Defender Firewall by clicking Allow Access.
Check Developing PHP on Windows Works
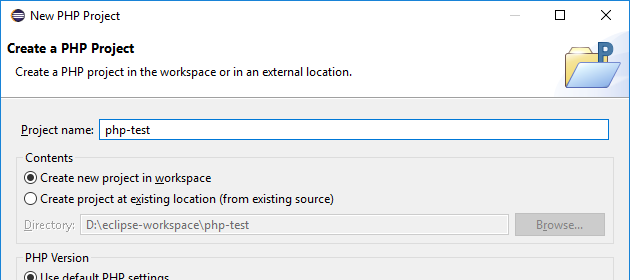
To check that PHP development on Windows works create a new project and setup a IIS website for it. With Eclipse running create a new PHP project and give it a name, e.g. php-test.
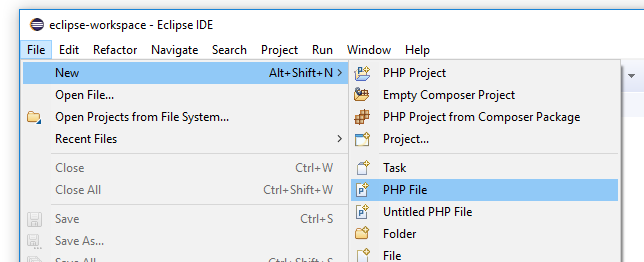
Create a new PHP file.
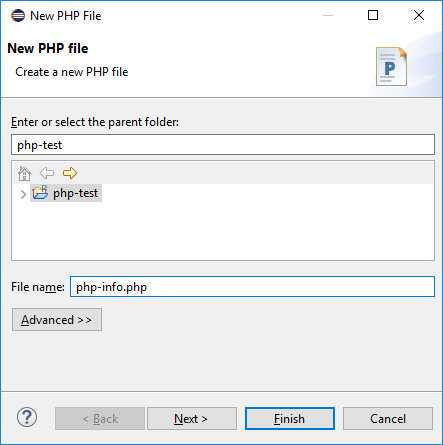
And give it a name, e.g. php-test.php
Edit the new file to use the phpinfo() function to output some PHP configuration information.
<?php
phpinfo();
?>
Save the file.
Create a Website in IIS for the PHP Project
To create a website for the PHP project run the IIS Manager app. It will need to be run under an administrator account.
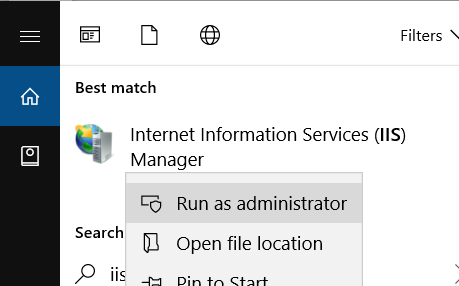
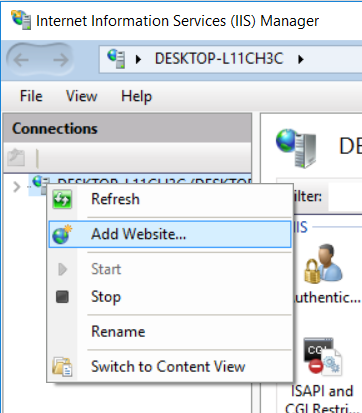
In IIS Manager use the context menu to choose Add Website.
Give the site a name and point it to the PHP project directory. Also ensure that IIS has access to the project folder, set the username and password for a user with permissions to the project folder. This can be the administrator account if required. Use the Test Connection option to ensure IIS can access the project files.
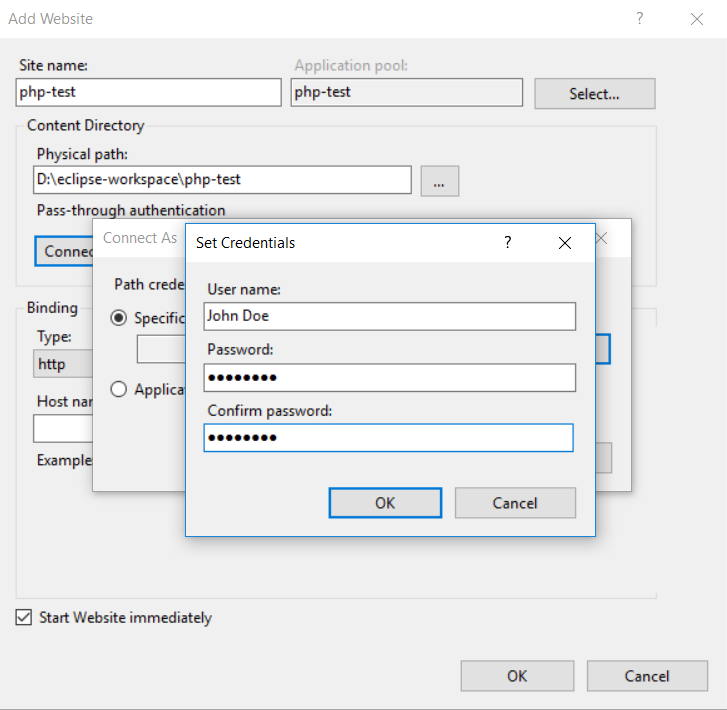
Use a different Internet port binding to prevent conflict with the default port 80, e.g. here port 8000 is used:

Run the PHP Project
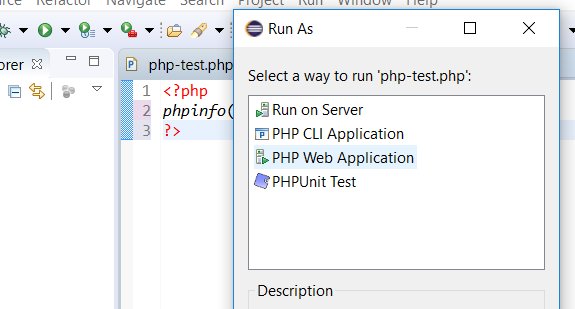
On first press of the Play icon in Eclipse configure the PHP Web Application.
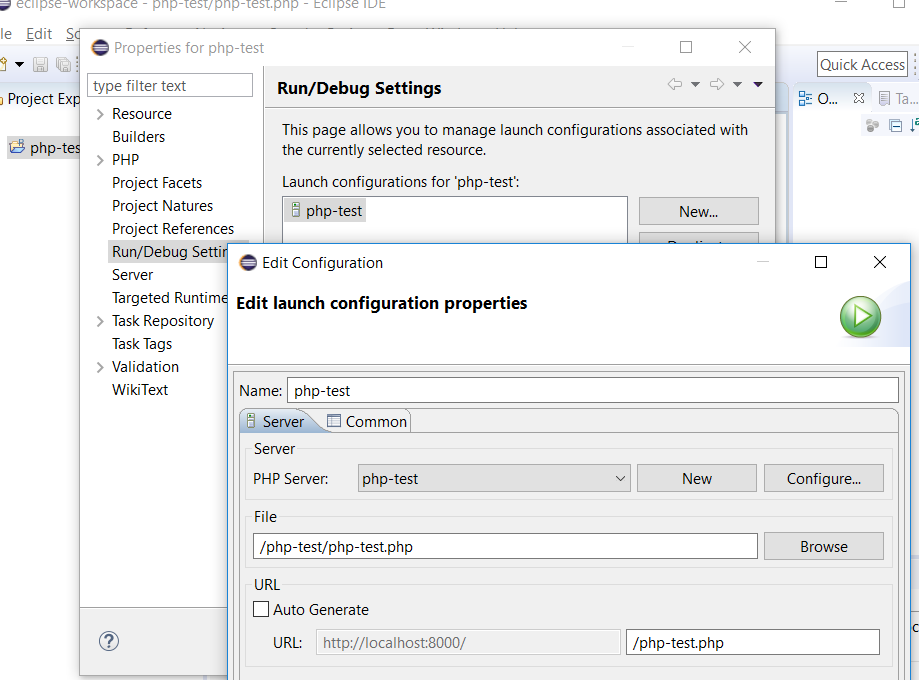
Enter the server settings for the project, here the port binding is included in the URL.
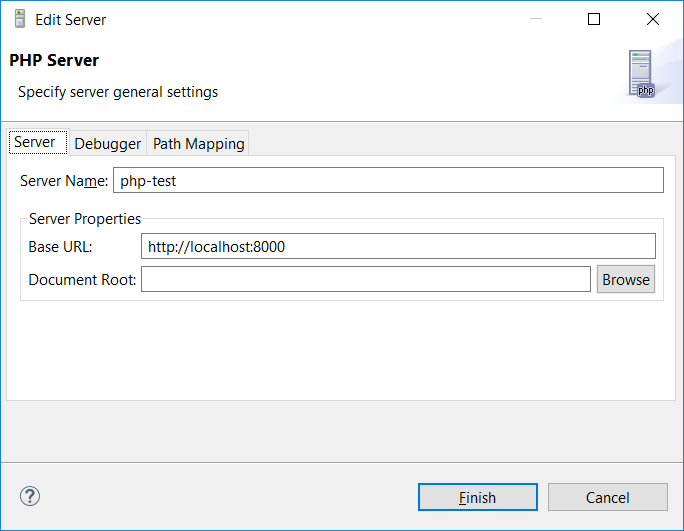
The Eclipse project properties, accessible from the Project menu, or context, menu can be used to edit the webserver configuration information when required. Here the project folder is not required in the URL because IIS is already configured to serve the files from the project folder. I.e. the project folder is the IIS virtual folder for the php-test website.
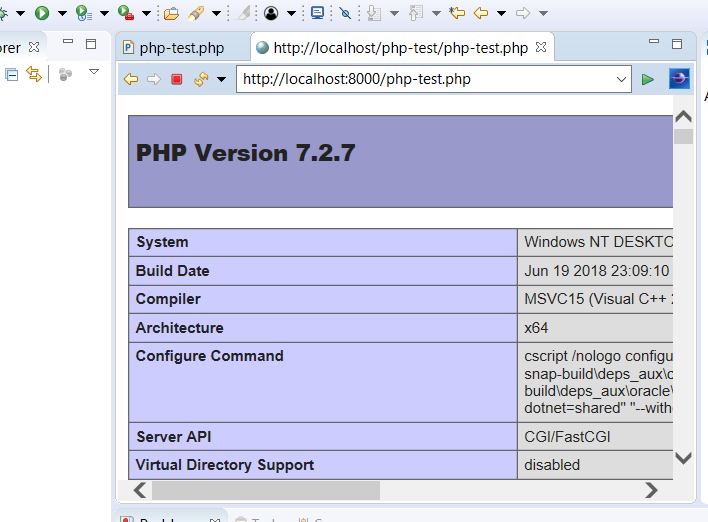
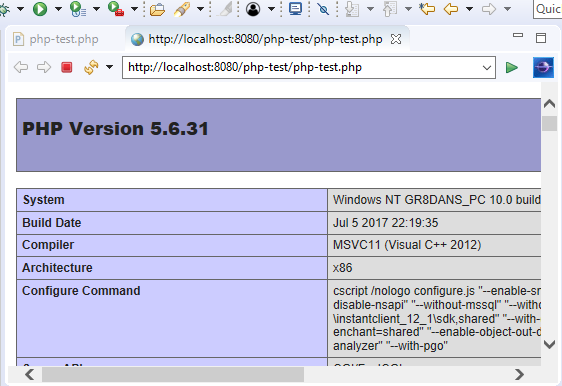
All being well pressing the Play icon should execute the php-test.php file and serve the PHP information to the browser in Eclipse:
Using the Express Version of IIS
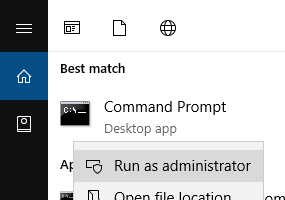
Instead of using the full version of Microsoft IIS for testing PHP websites, the Express version of IIS can be used. IIS Express can also be installed using the Web Platform app. If using the Express version of IIS starting the webserver is a different process. The IIS Express webserver will need to be started from the Windows command line. Start by opening a command line under an administrator account.
Change directory to the PHP project folder and run the command runphp.cmd. The WebPI app should have added the path to the PHP folder containing the command file.
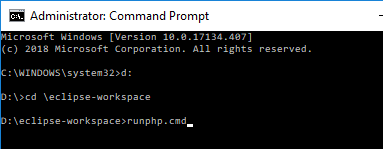
The command box is kept open to allow IIS to be closed when the development session is finished.
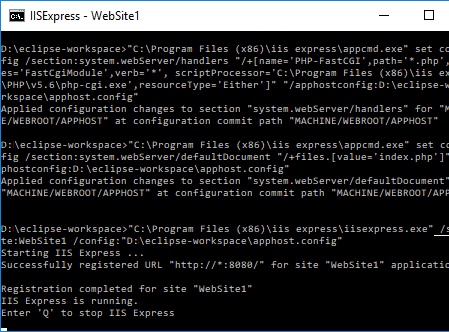
The runphp.cmd command file uses port 8080 by default.
Optionally Install a PHP Debugger
A popular PHP debugger is Xdebug. Go to the Xdebug download page and choose the version that matches the PHP version you are using. Use the phpinfo information to check the PHP version if required. Copy the Xdebug file into the PHP ext directory. Administrator permissions will be required. Edit the php.ini file to add the following lines (replacing PATH TO PHP EXT\XDEBUG DLL NAME with your actual path and name of the Xdebug file:
zend_extension="PATH TO PHP EXT\XDEBUG DLL NAME"
xdebug.remote_enable=1
E.g.:
zend_extension = "C:\Program Files\PHP\v7.2\ext\php_xdebug-2.6.1-7.2-vc15-nts-x86_64.dll"
xdebug.remote_enable=1
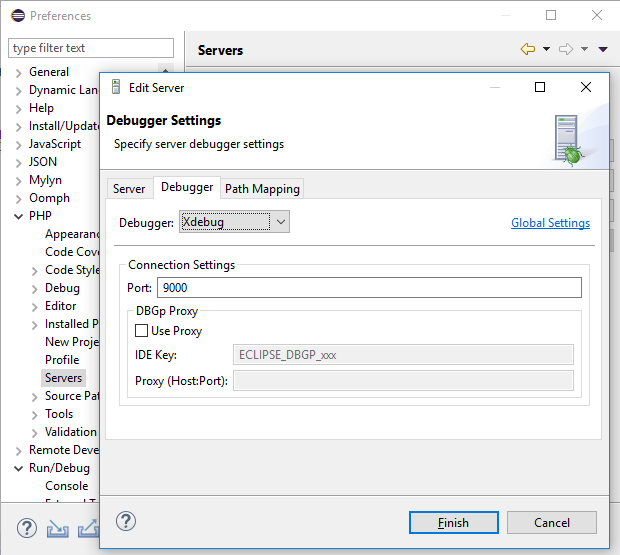
Close any browser windows to ensure that Xdebug will load when the website is started again. Use the Eclipse Preferences from the Window menu to ensure that the PHP server settings are updated for Xdebug.
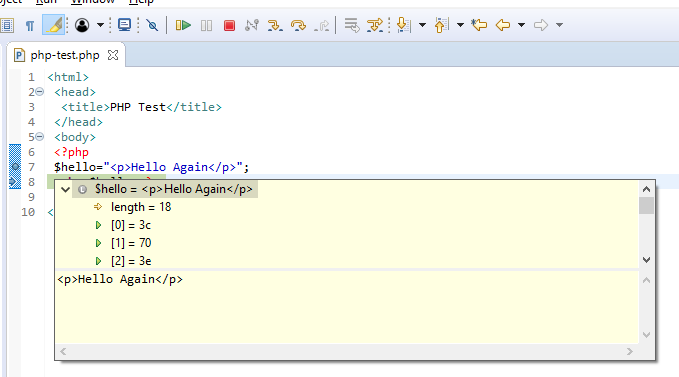
Running a project from the bug icon allows code stepping and watching of variable values.
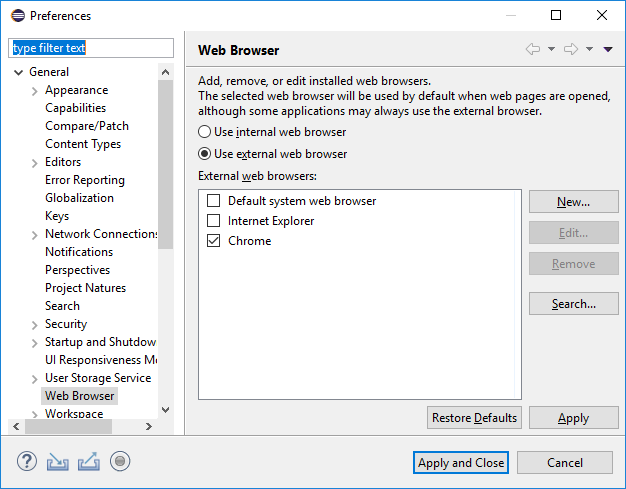
To use a web browser external to Eclipse change the Web Browser settings under Preferences and General.
Setting up PHP development on Windows is a little involved, but Eclipse can help with writing and debugging PHP based web apps.
See Also
- Show PHP Settings with phpinfo and Example PHP $_SERVER Display Page
- Visual Studio Code can be configured for PHP development on Windows.
- For a full list of all the articles in Tek Eye see the full site Index.
Author:Daniel S. Fowler Published:


