Enable Nexus USB Debugging
This article is a quick tutorial on enabling USB debugging on a Google Nexus device. USB debugging allows Apps developed in Android Studio to be run and debugged on a physical device. A physical device is faster than an Android Virtual Device (AVD) for App testing.
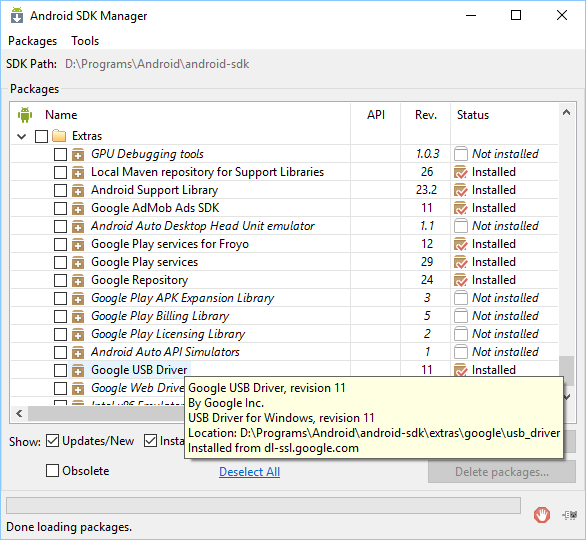
For a Windows computer first download the Google USB driver. It is assumed that Android Studio has already been installed. (If not see the article Android Studio Windows Install.) Use the Android SDK Manager to download the Google USB Driver under Extras.

On the Nexus device go into the Settings and scroll to the bottom and select About phone.
Scroll to the bottom again and tap the Build number seven times to enable Developer options.
Go back to settings and enter the now visible Developer options.
Under USB Debugging turn on Debug mode when USB is connected.
Connect the Nexus device to the computer using a compatible USB cable.
In Windows Explorer go to the usb_driver folder under extras\google in the Android SDK directory. Use the context menu (normally right-click) to install the android_winusb.inf.

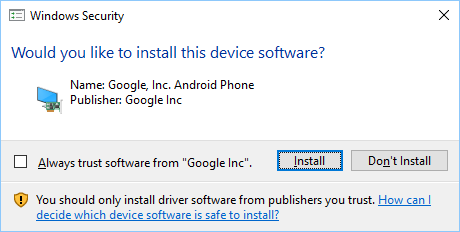
You will need to accept a Windows' User Account Control dialog. Select Install when the next dialog appears:

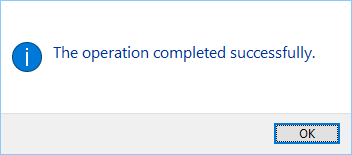
A message is display when completed:

On the device click the box Always allow from this computer. Select OK to Allow USB debugging?
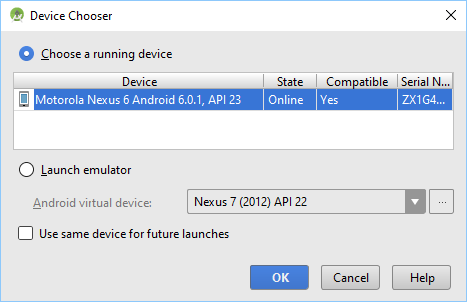
When an App is run in Android Studio the Device Chooser dialog will now show the physical Nexus device as an option:

AVDs combined with physical devices allows an App to be tested on different screen and API combinations.
Author:Daniel S. Fowler Published:


