Displaying a Bitmap in Android
Showing a bitmap image, such as a Portable Network Graphics (PNG) or JPEG file, in an Android app is easy. In this tutorial project for displaying a bitmap in Android an ImageView is used.

(This bitmap tutorial assumes that Android Studio is installed and a basic App can be created and run.)
Preparing the Bitmap to Display in an App
The ImageView class is pointed at a bitmap stored under one of the drawable folders in the res project folders. Start by creating a basic app project that will contain the ImageView and bitmap to display. Here the new project created in Android Studio is called Bitmap and an Empty Activity used. All other settings are left at their default values.
The next task is to add the bitmap. For this example we are using a clown PNG file. You can use your own PNG or JPEG file or download this clown bitmap which is in the Public Domain.

Ideally the same bitmap image is stored at different resolutions to cater for the different screen densities of Android devices. The drawable folder is the default folder and corresponds to a medium density display at about 160 dots per inch (dpi). There are five drawable folders to support other screen densities (six if you include the now rarely used low density folder):
| Folder | DPI | Multiplier |
|---|---|---|
| drawable | 160 | x1 |
| drawable-ldpi | 120 | x0.75 |
| drawable-mdpi | 160 | x1 |
| drawable-hdpi | 240 | x1.5 |
| drawable-xhdpi | 320 | x2 |
| drawable-xxhdpi | 480 | x3 |
| drawable-xxxhpdi | 640 | x4 |
For example to create the extra high density (xhdpi) bitmap save the bitmap at a resolution 2 times that of the default 160 dpi. If the clown bitmap is saved at 200 pixels wide for the default drawable folder, the same as the drawable-mdpi (medium density) folder, then it is saved at 400 pixels wide (2x200) in the drawable-xhdpi folder. For this project all the correctly sized bitmaps are available in the Zipped Simple Clown graphic resources for the res folder file and in the imageview-bitmap.zip project source.
Use an ImageView to Show a Raster Graphic
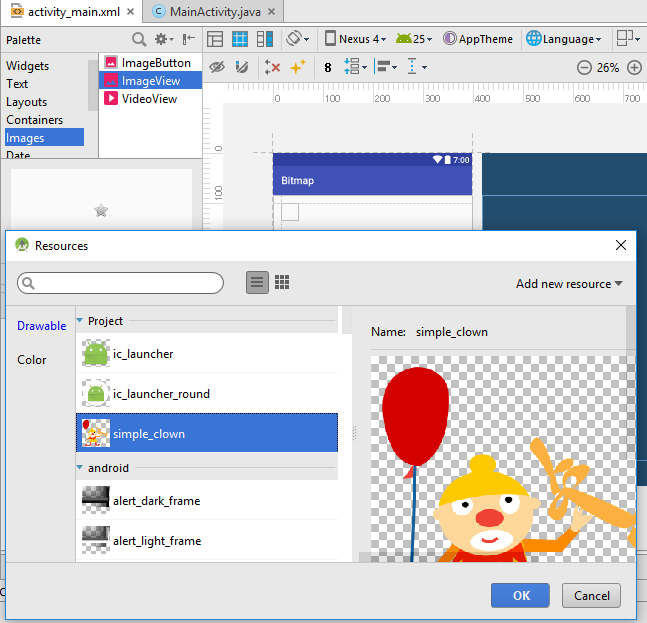
With the different size bitmap files in the correct drawable folders add an ImageView to the project. In Design mode for the activity_main.xml the default Hello World! TextView is deleted. From the Palette under Images drag and drop an ImageView onto the layout. The Resources dialog will appear and the clown bitmap can be selected.

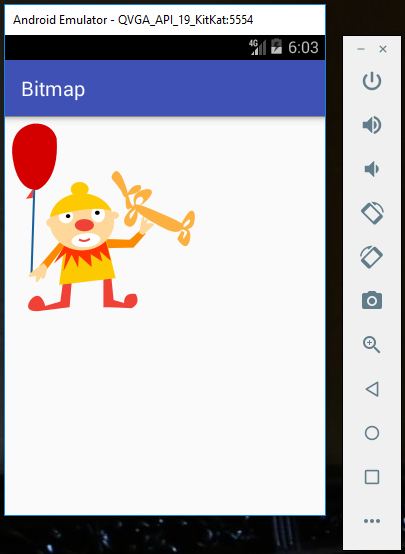
The Android App is ready to run! Press the run button and view the result on an AVD (see Set Up an Android Virtual Device for App Testing or a physical device plugged into the PC.

Acknowledgements
The clown was drawn by Open Clip Art Library user shokunin.
See Also
- Download the code for this example, available in imageview-bitmap.zip
- For more code to try in Studio see the Android Example Projects page.
- For a full list of all the articles in Tek Eye see the full site Index.
Author:Daniel S. Fowler Published: Updated:


