Grabbing an Android Device Screenshot
Android developers need to be able to grab a screenshot of their app running on a device or the emulator. There are different reasons to do this. When the app is published on Google Play one of the requirements is at least two screenshots for standard apps. The ability to take a screenshot also helps with the production of a website to support the app (online user guides, tips, training, quick start guides and manuals). There is also the production of marketing materials and good old fashioned printed user guides or manuals.
(Note: This tutorial is about grabbing a screenshot during app development. Not the normal way to grab a screenshot on a physical device running a recent version of Android, 4.0 or later. In that case pressing and holding the power and volume down buttons at the same time, until the screen flashes and the device beeps, will capture the current device screen and save it to a file.)

It is most likely that the screen capture will be done during the final testing phases of the app on a developers computer. The app will be running on an Android Virtual Device (AVD) or on a device connected to the computer, usually via a USB. This tutorial explains how easy it is to capture the screen for an Android device. If you have a app project handy start up Android Studio now and give it try. (If new to Android programming then install Android Studio and use a Tek Eye Android example project.
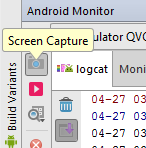
Execute the project so that it is running on an AVD or physical device. If the Android monitor is not open then click on the tab at the bottom of studio:

Then click on the Screen Capture camera icon. (The icon is greyed out if the monitor has no connection to a device or AVD):

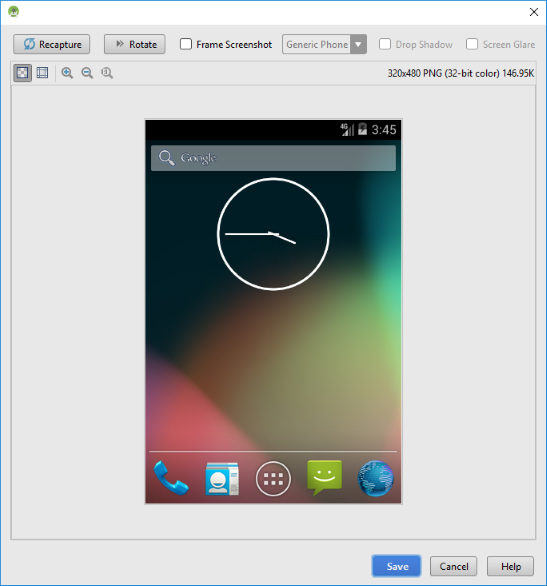
The capture dialog will appear:

There are several options on the capture dialog:
- Recapture - Update the screenshot, usually used to grab a new screenshot after performing an action on the app.
- Rotate - Flip the screen capture through ninety degrees, used when capturing devices or AVDs in landscape orientation.
- Frame Screenshot - Add a device border to the screenshot so it looks like it is running on a physical device. (See also the Device art generator.)
- Border options - Phone or tablet border, and add a drop shadow.
- Save – Write the screenshot to disk.
AVD Screen Capture in Windows
When the AVD is running on a PC under Microsoft Windows then a window capture can be performed by using Alt-PrtSc. Give the AVD focus (e.g. click on it) and use Alt-PrtSc to copy the AVD screen to the clipboard, ready for pasting into other programs.
Note
For the Google Play screenshots the minimum dimension is 320 pixels (px) and the maximum is 3840px. Images with X or Y dimensions outside these values will need resizing.
See Also
For a full list of all the articles in Tek Eye see the full site Index.
Author:Daniel S. Fowler Published: Updated:


