CodeLobster, a WebMatrix Alternative for HTML and PHP?
A lot of small (and big) website development businesses, and hobbyist website developers, were disappointed when Microsoft abandoned any further development on WebMatrix at version 3. This article takes a look at the CodeLobster IDE to see if it can be configured as an alternative to WebMatrix for HTML, JavaScript and PHP development. CodeLobster is a great IDE for web development, but it requires some initial effort to get it configured on a Windows PC to run a website.
WebMatrix Discontinued
Even though developing a website can be achieved by typing raw HTML code into a text file, an app like WebMatrix helps a developer be productive. WebMatrix makes life easier for a web developer. It quickly became a favourite for many website developers because of its easy to use interface and straightforward functionality. As often happens with Microsoft products, WebMatrix was discontinued, with Microsoft targeting Visual Studio Code as their own alternative to WebMatrix. However, even though WebMatrix reached End-of-Life some years ago, it can be installed onto Windows using the Microsoft Web Plaform Installer, known as WebPI. This is good for those that still continue to use WebMatrix, but some companies and developers prefer to have support available for the apps they use. The CodeLobster IDE seems to be a reasonable alternative to WebMatrix.
Installing CodeLobster as a WebMatrix Replacement
There are several steps needed to get CodeLobster up and running as an alternative WebMatrix development environment for HTML, JavaScript and PHP.
- Install Microsoft's very useful Web Platform Installer, WebPI. It will be used to install PHP.
- Install the web server that comes with Windows, i.e. Windows Internet Information Services (IIS).
- Install PHP onto Windows.
- Optionally install the Xdebug PHP debugger (recommended).
- Install the CodeLobster IDE.
- Create a website in CodeLobster.
- Configure IIS to run the website.
- Configure the CodeLobster IDE to match the IIS development website settings.
- Check that CodeLobster can run the website and, optionally debug PHP.
Note: You will need administrator access to the Windows machine to perform all the steps. This means a standard Windows user will need the administrator password, or access to someone who can type in the administrator password when the User Access Control (UAC) box appears (several times).
1. Install Microsoft Web Platform Installer
The WebPI app makes it easy to install web based technologies onto a Windows machine. Go to the Web Platform Installer download page and install WebPI.
When WebPI has been installed, type webp into the Windows search box to access the WebPI app. It will need to be run under a Windows administrator account. If signed into Windows as a standard user then select Run as an administrator when running WebPI.
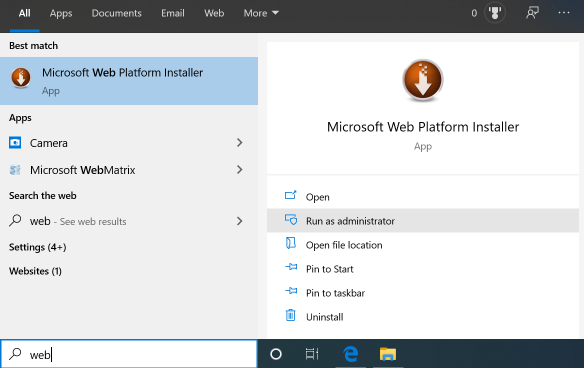
When Web PI is run it will check for the latest available web technology packages that are available for installing on Windows.
2. Install IIS on Windows
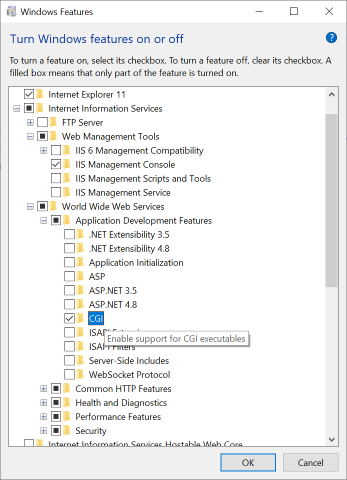
The IIS Windows component can be installed (or the alternative IIS Express cut down version using WebPI). To install the full version of IIS you will need to access Turn Windows Features On or Off within Windows, do so by typing windows fea in the Windows Search box, and start the Turn Windows features on or off option.
Click the Internet Information Services option to enable IIS, also select the CGI option (CGI is Common Gateway Interface).
Also see the Tek Eye article Web Server on Windows with IIS.
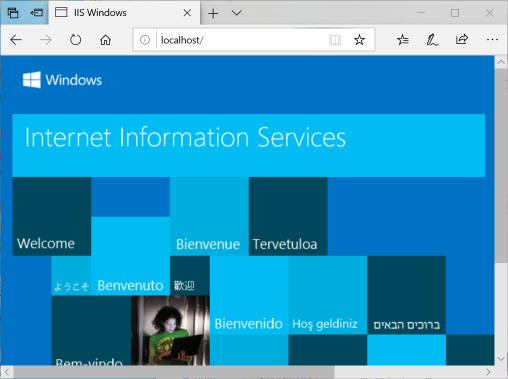
When IIS is installed check that the Windows web server is working by typing localhost into a web browser.
3. Install PHP onto Windows
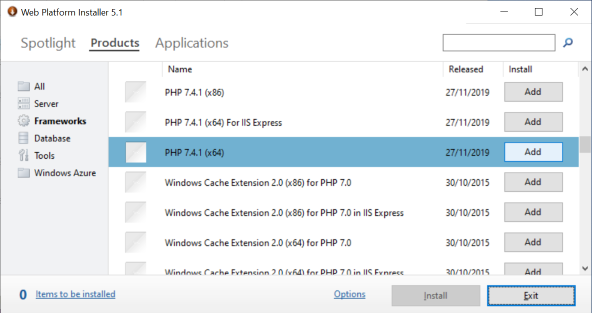
Use WebPI to install PHP on Windows. Run WebPI (as an administrator, see the first point) and select the latest version of PHP from the Frameworks option. Select Add and then Install and accept the license terms to install PHP.
See the Tek Eye article Install PHP on Windows with Web Platform Installer for a complete guide.
Note: You may see an error message that the PHP Manager for IIS and the Windows Cache Extension did not install. These are not important for a website development machine, and do not affect running a website in CodeLobster. The PHP Manager for IIS allows switching between different versions of PHP, if only one version of PHP is installed then it is not required. The Windows Cache Extension is for performance reasons. It is useful in a production environment but can cause issues when developing a web page where there are lots of edits.
4. Optionally Install the Xdebug PHP Debugger
Once PHP has been installed via WebPI, the PHP debugger can be configured. Go to the Xdebug website and download the correct version of the Xdebug DLL for the version of PHP installed.
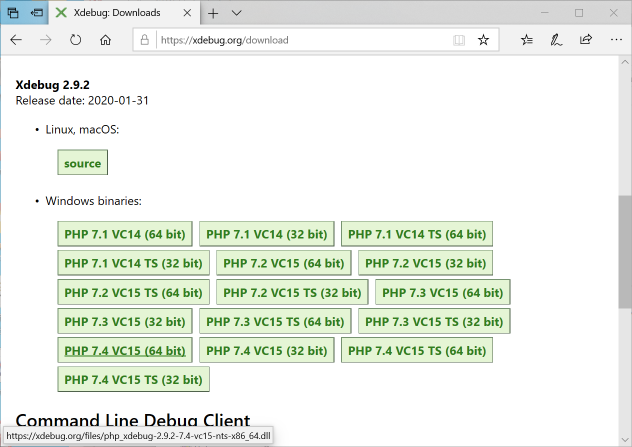
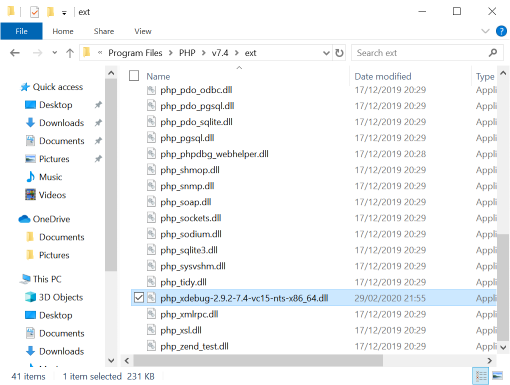
Move the Xdebug DLL into the PHP ext directory. You will need the administrator password if PHP is installed under Program Files.
Edit the PHP configuration file, php.ini, to add a section for Xdebug. The text editor that is used to edit php.ini will need to run under an administrator account. If using Windows Notepad, type note in Windows Search and use the context menu (normally right click) on the Notepad app, and select Run as administrator.
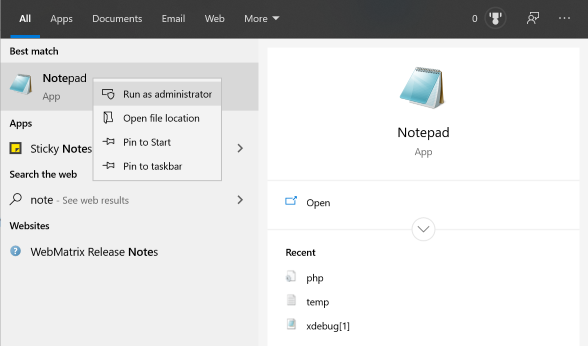
Select Open File in Notepad, select All Files in the drop down next to the File name. Browse to the PHP program directory, and open the php.ini file (it has the gear icon and is a Configuration setting file type). Go to the bottom of php.ini and add the Xdebug section for CodeLobster. Set the full path and file name for the zend_extension to your installed Xdebug DLL. The name and path shown here in this added Xdebug section is an example.
[xdebug]
xdebug.remote_enable = 1;
;  path to php_xdebug extension
zend_extension = "C:\Program Files\PHP\7.4\ext\php_xdebug-2.9.2-7.4-vc15-nts-x86_64.dll"
xdebug.remote_host = localhost;    127.0.0.1 for some configuration
xdebug.remote_port = 9000;
xdebug.max_nesting_level = 256;     required for some frameworks
xdebug.remote_handler = "dbgp";
xdebug.remote_autostart = 1;           required for xDebug auto start
When you save php.ini you may need to confirm overwriting the existing version, if so select Yes.
(For older versions of PHP, the Xdebug DLL will be under the Historical Releases section of the Xdebug website.)
5. Install the CodeLobster IDE
Go to the CodeLobster IDE website to get the CodeLobster installer.
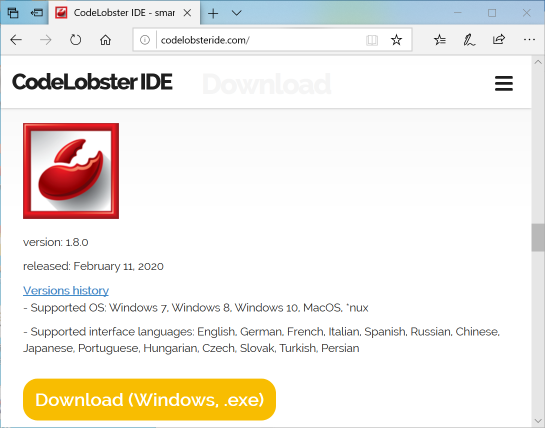
Run the installer, you may need the Windows PC's administrator password. Select the Next button in the install wizard to accept the options. Select the Finish button once the CodeLobster installer has completed.
It is worth creating a shortcut to CodeLobster for easy access.
6. Create a Website in CodeLobster
Run CodeLobster and create a new project.
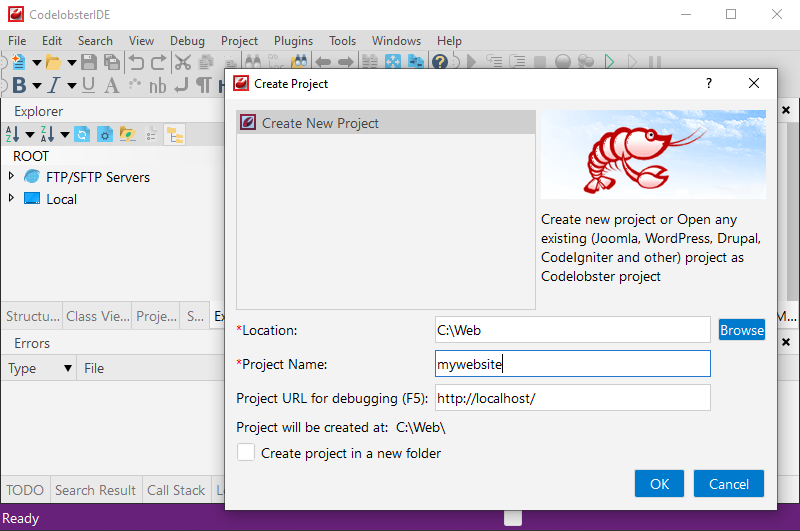
Create a new HTML file in the project directory, adding some text into the body tags, and save it as index.html.
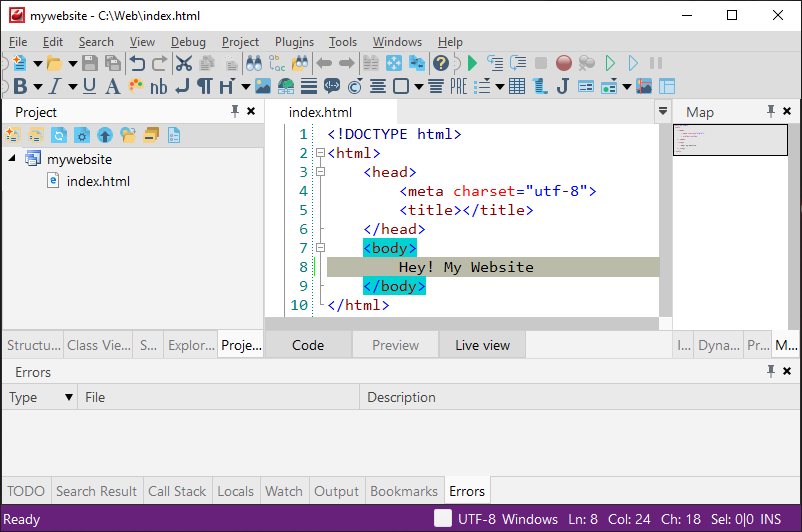
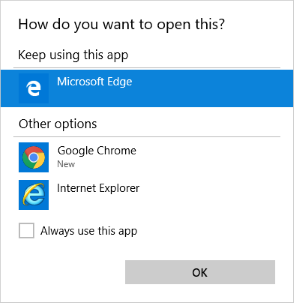
In CodeLobster a HTML web page is run directly in the browser when the play button is pressed.

You may need to select the browser to use.
7. Configure IIS to Run the Development Website
Windows IIS
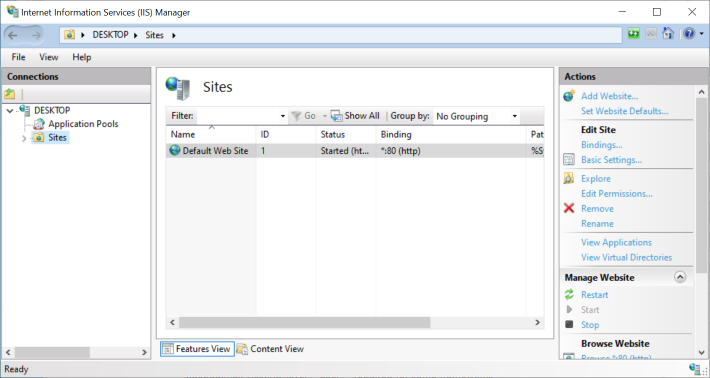
Run the IIS Manager app to configure a new website for the CodeLobster project.
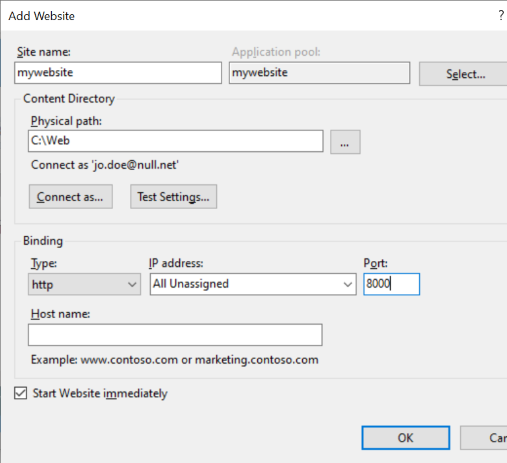
Use the context menu on the Sites folder to add a new website. Give it a name and point the Physical path to the CodeLobster project folder. Use the Connect as button to enter you Windows user name and password, or the user name and password of the administrator. This allows IIS to access the project files. Here, the Port number is set to 8000 to prevent the website from clashing with the default IIS website, you can use your own value. (If you need to see all the Windows ports in use, run netstat -a in a command box started under the administrator account).
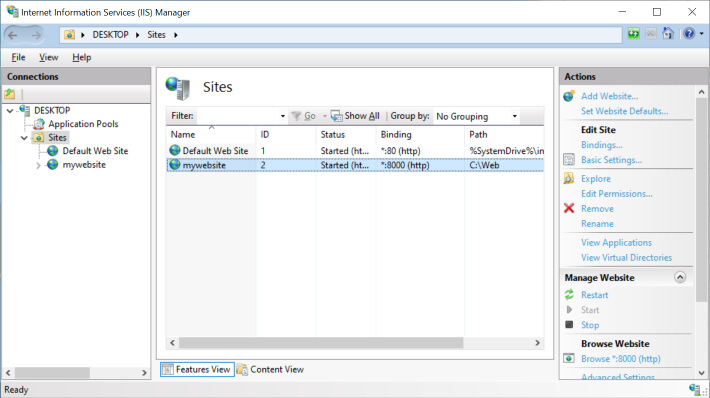
Once a website has been created in IIS it will appear in the Sites folder.
IIS Express
If you are using IIS Express, and it was installed using WebPI, you can use the runphp.cmd to start IIS Express. Run a cmd prompt as the administrator (type cmd in Windows Search, use the context menu on Command Prompt and select Run as administrator). Change to the website project directory, e.g. cd C:\Web. Then run runphp.cmd. IIS Express will start and create an apphost.config file in the directory.
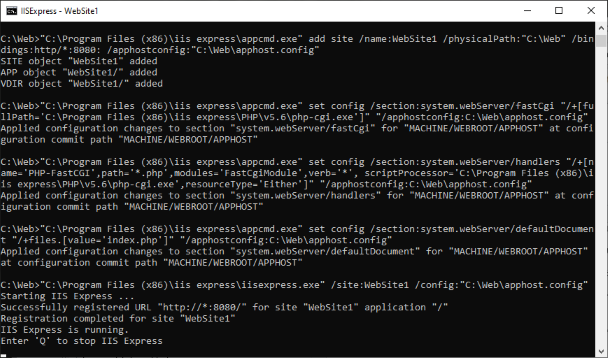
See the section Using the Express Version of IIS in the Tek Eye article Developing PHP on Windows with Eclipse PDT for more detail.
8. Configure the CodeLobster IDE to Run the Website
For PHP code the new IIS website needs configuring in CodeLobster. Using the Tools menu select Preferences.
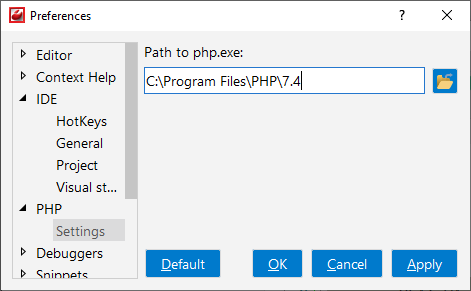
In the PHP section set the path to the php.exe file. This is normally under the version of PHP installed in Program Files, e.g. C:\Program Files\PHP\7.4. The path may differ for your version of PHP. PHP may also be installed under the IIS or IIS Express directory.
Then in the Debugger settings, under PHP, the Virtual folder should be the same as the website project folder. The start URL will need to match the port number set in IIS Manager, in this example 8000, i.e. the Start URL is http://localhost:8000/, as is the Project URL for debugging and Project home URL. Note: the Port number in the Debugger PHP settings is the Xdebug port number, NOT the website port number, and here it is unchanged from the default of 9000. Save and Apply any changes made.
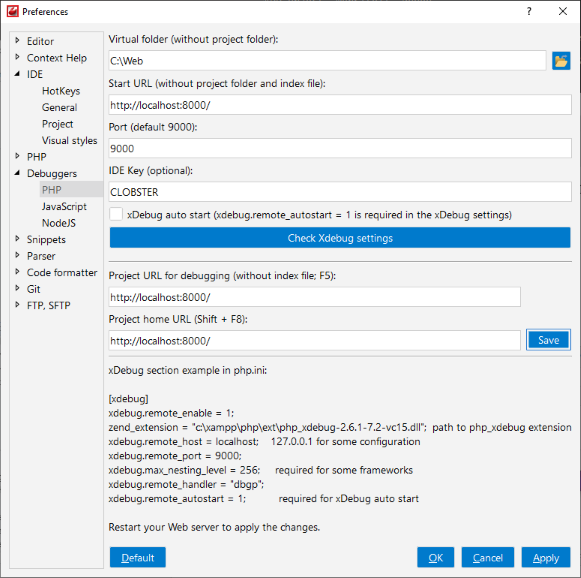
(For IIS Express use the binding setting in the apphost.config file in the project directory for the port number.)
If the php.ini Xdebug settings are correct, and have been applied, then selecting Check Xdebug settings should be successful, if not double check the above steps.
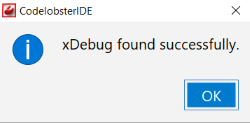
9. Verify CodeLobster can Run the website and Debug PHP
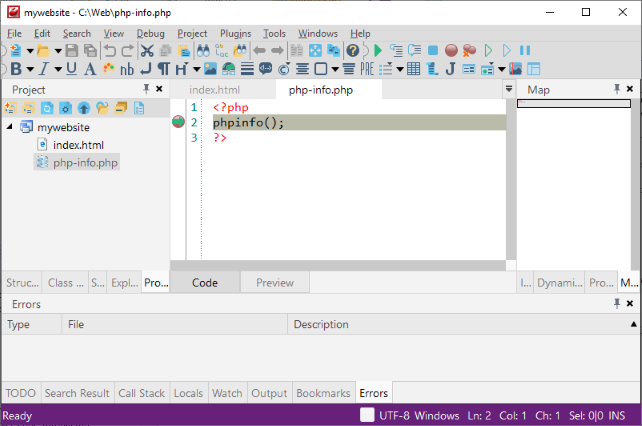
Check that CodeLobster can run a PHP based website, and debug PHP. Create a new PHP page for the project. Add the phpinfo() function to the file between the <?php and ?> tags. Save the file, for example as php-info.php. Add a breakpoint onto the phpinfo() function (click in the margin next to the functions line number).

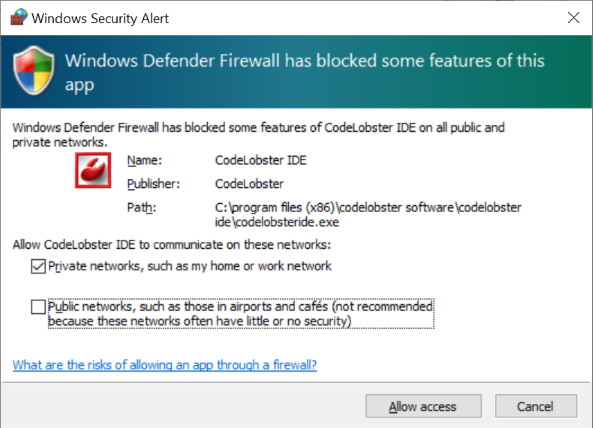
Press the triangular play icon on the toolbar. The IIS and Xdebug port settings will require the Windows Defender Firewall to be configured, select Allow access when asked.
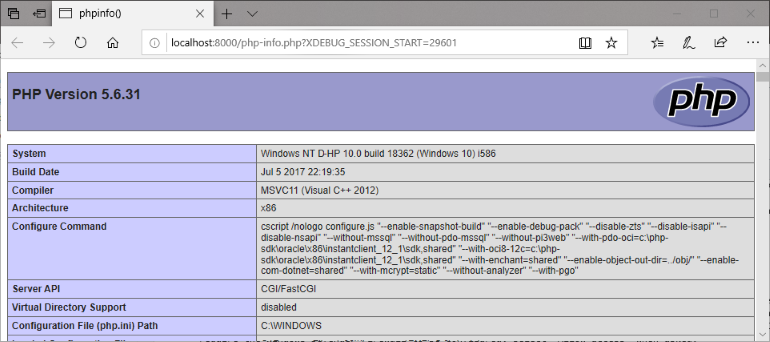
On pressing the play button the browser will start, and then wait for the PHP code to respond. CodeLobster will have stopped on the php_info() function because of the break point. Press the play button again to see the browser show the PHP information. This demonstrates that PHP is working.
Explore CodeLobster Features
There is a lot of functionality within CodeLobster. Play with the menus and toolbars to learn more about its features and decide if CodeLobster can be a useful replacement for WebMatrix.
See Also
- Developing PHP on Windows with Eclipse PDT
- For a full list of all the articles in Tek Eye see the full site alphabetical Index.
Author:Daniel S. Fowler Published:


